
How to use a Zoom H2n as a USB mic
The Zoom H2n Handy Recorder works well as an audio source for online meetings in Zoom (no relation!) or other times when you need a USB mic.
The Zoom H2n isn’t the newest or flashiest piece of gear, but it lives up to its name as Handy Recorder—capturing reliably good audio with minimal fuss. For that reason, a lot of musicians have an H2n for recording on the go, but I suspect many don’t realize that this versatile little device can serve another purpose: as a USB mic for online meetings, live streams, and recording.
Personally, I was thinking about buying a USB mic (as a more portable alternative to my audio interface and condenser mic) when I discovered: wait a minute, the H2n already does this, and quite well in fact.
Here’s how.
Connecting the H2n
Getting the H2n to work with your computer is dead simple. All you need is a mini-USB to Type A USB cable, which if you have an H2n you most likely already use to copy files from the H2n to your computer.
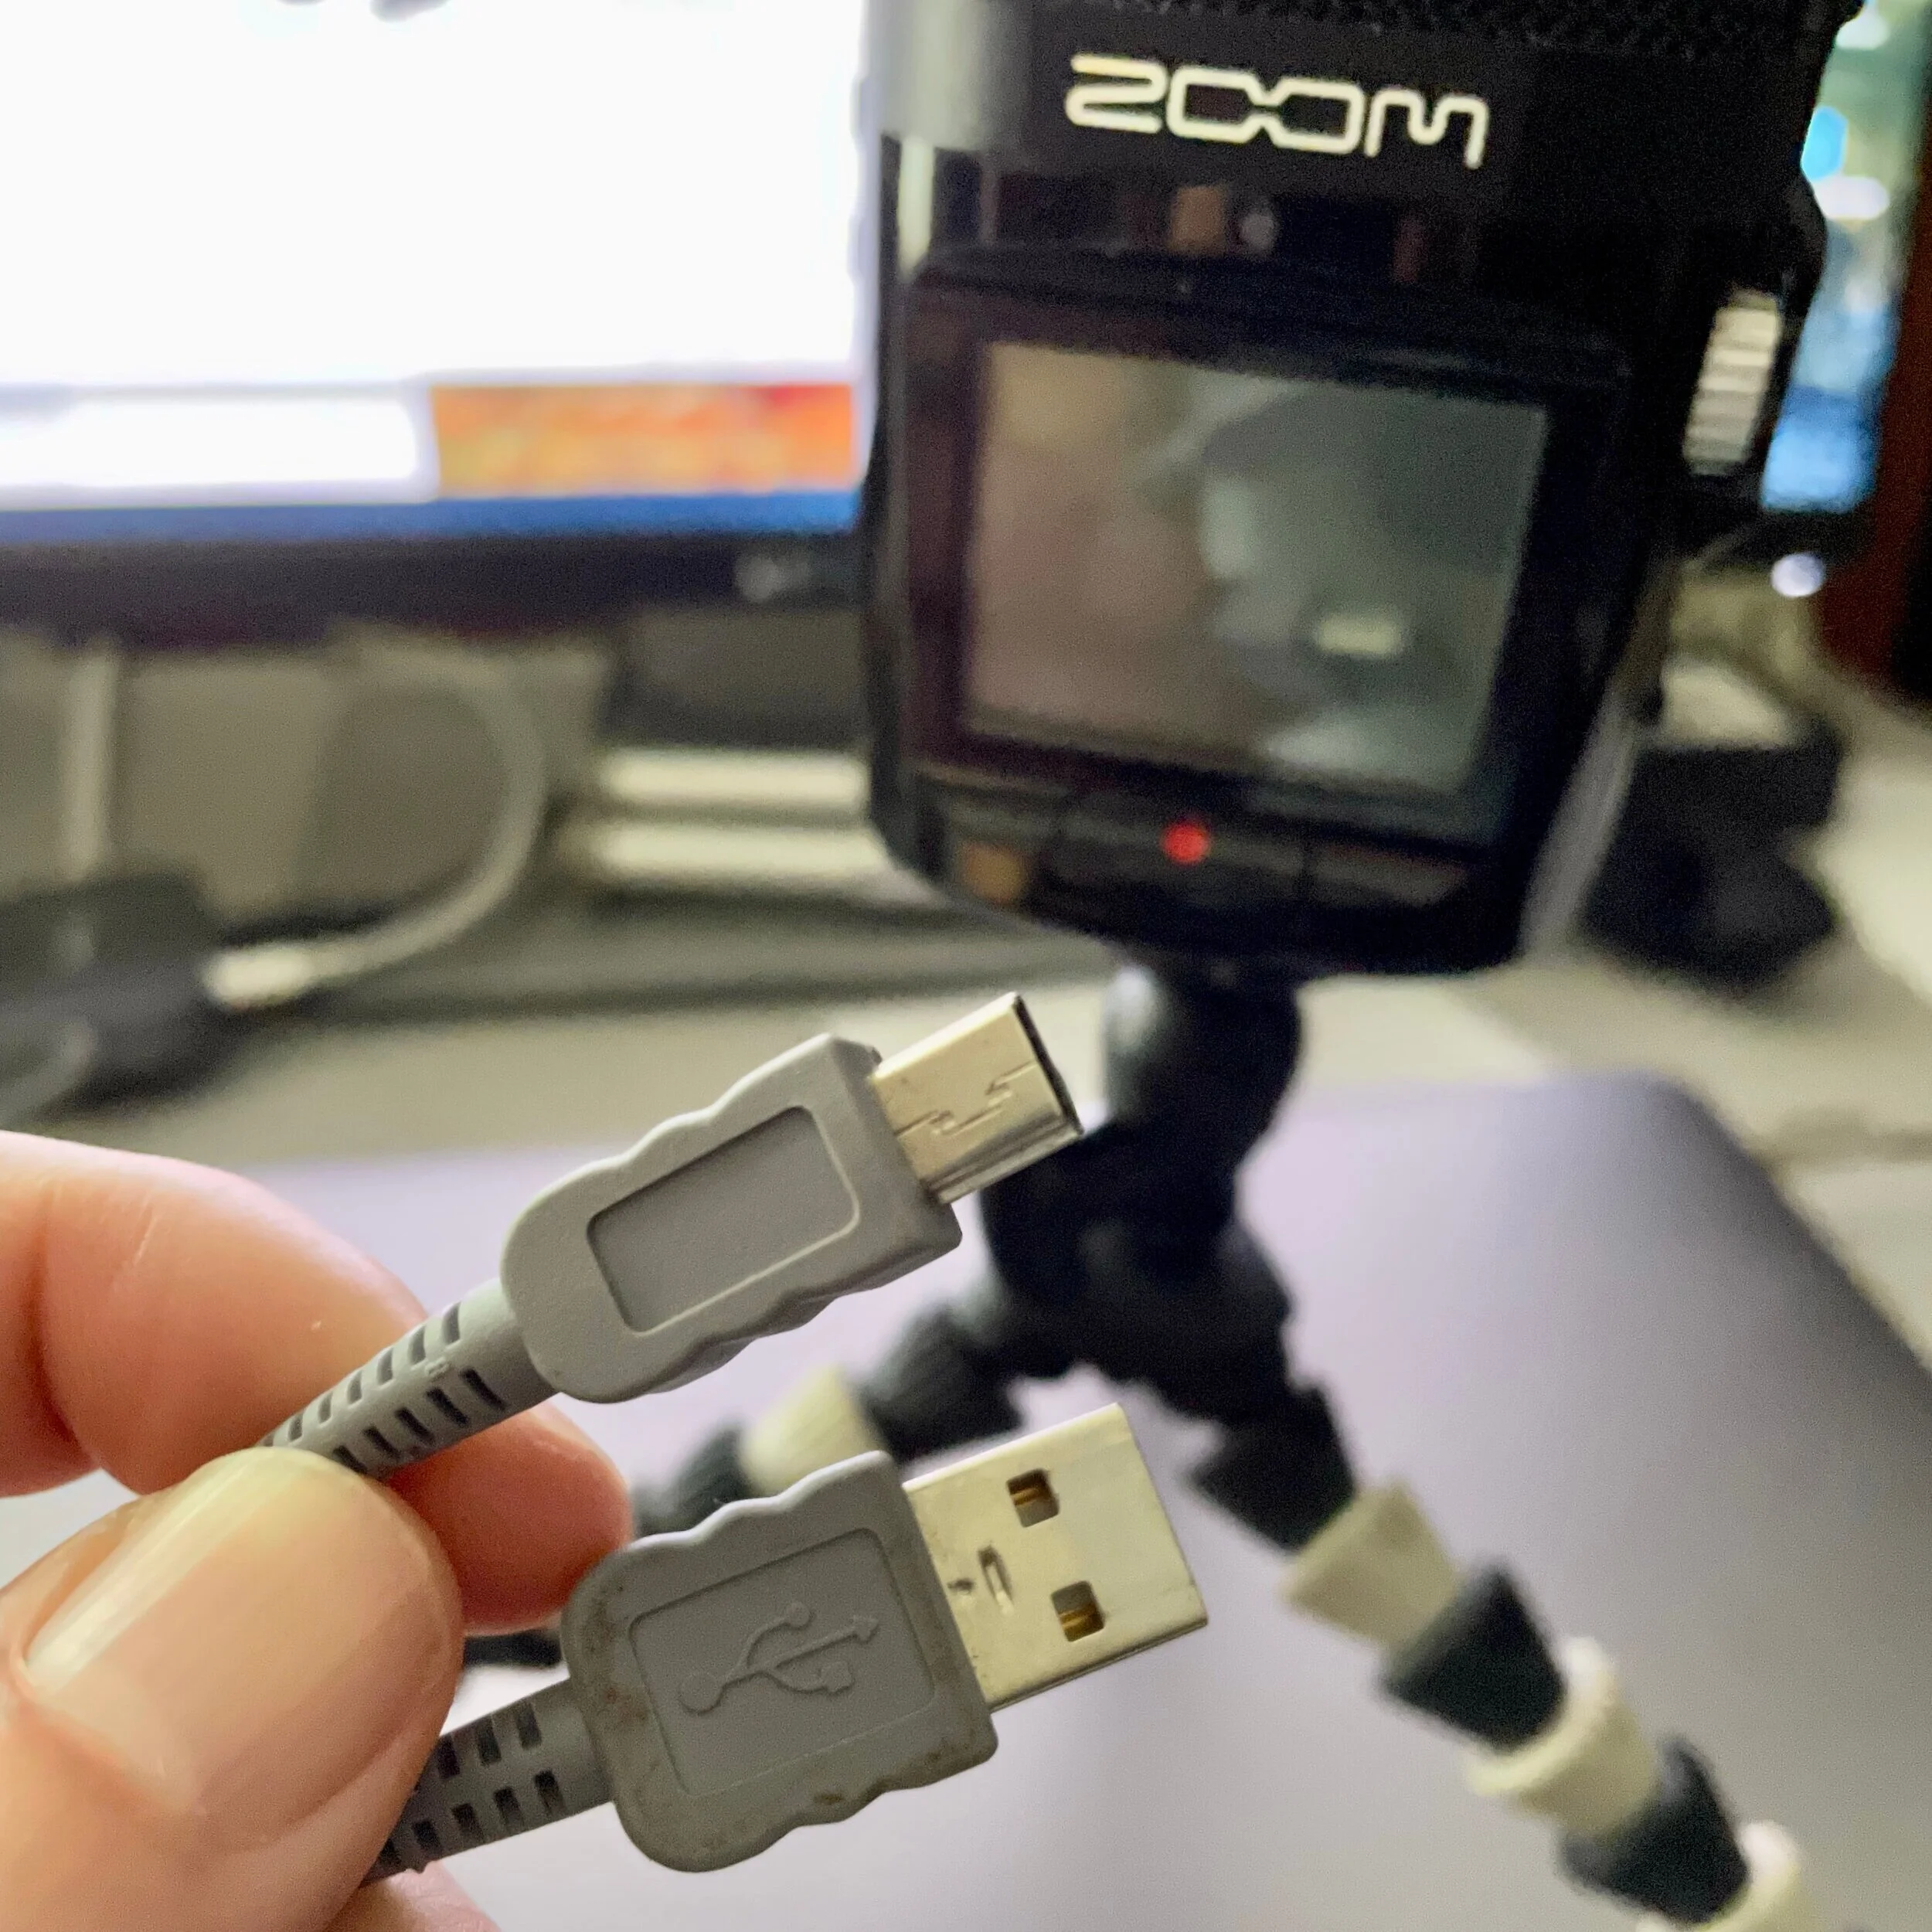
1. With the Hn2 powered off, connect a mini-USB to Type A USB cable from the H2n to your computer.
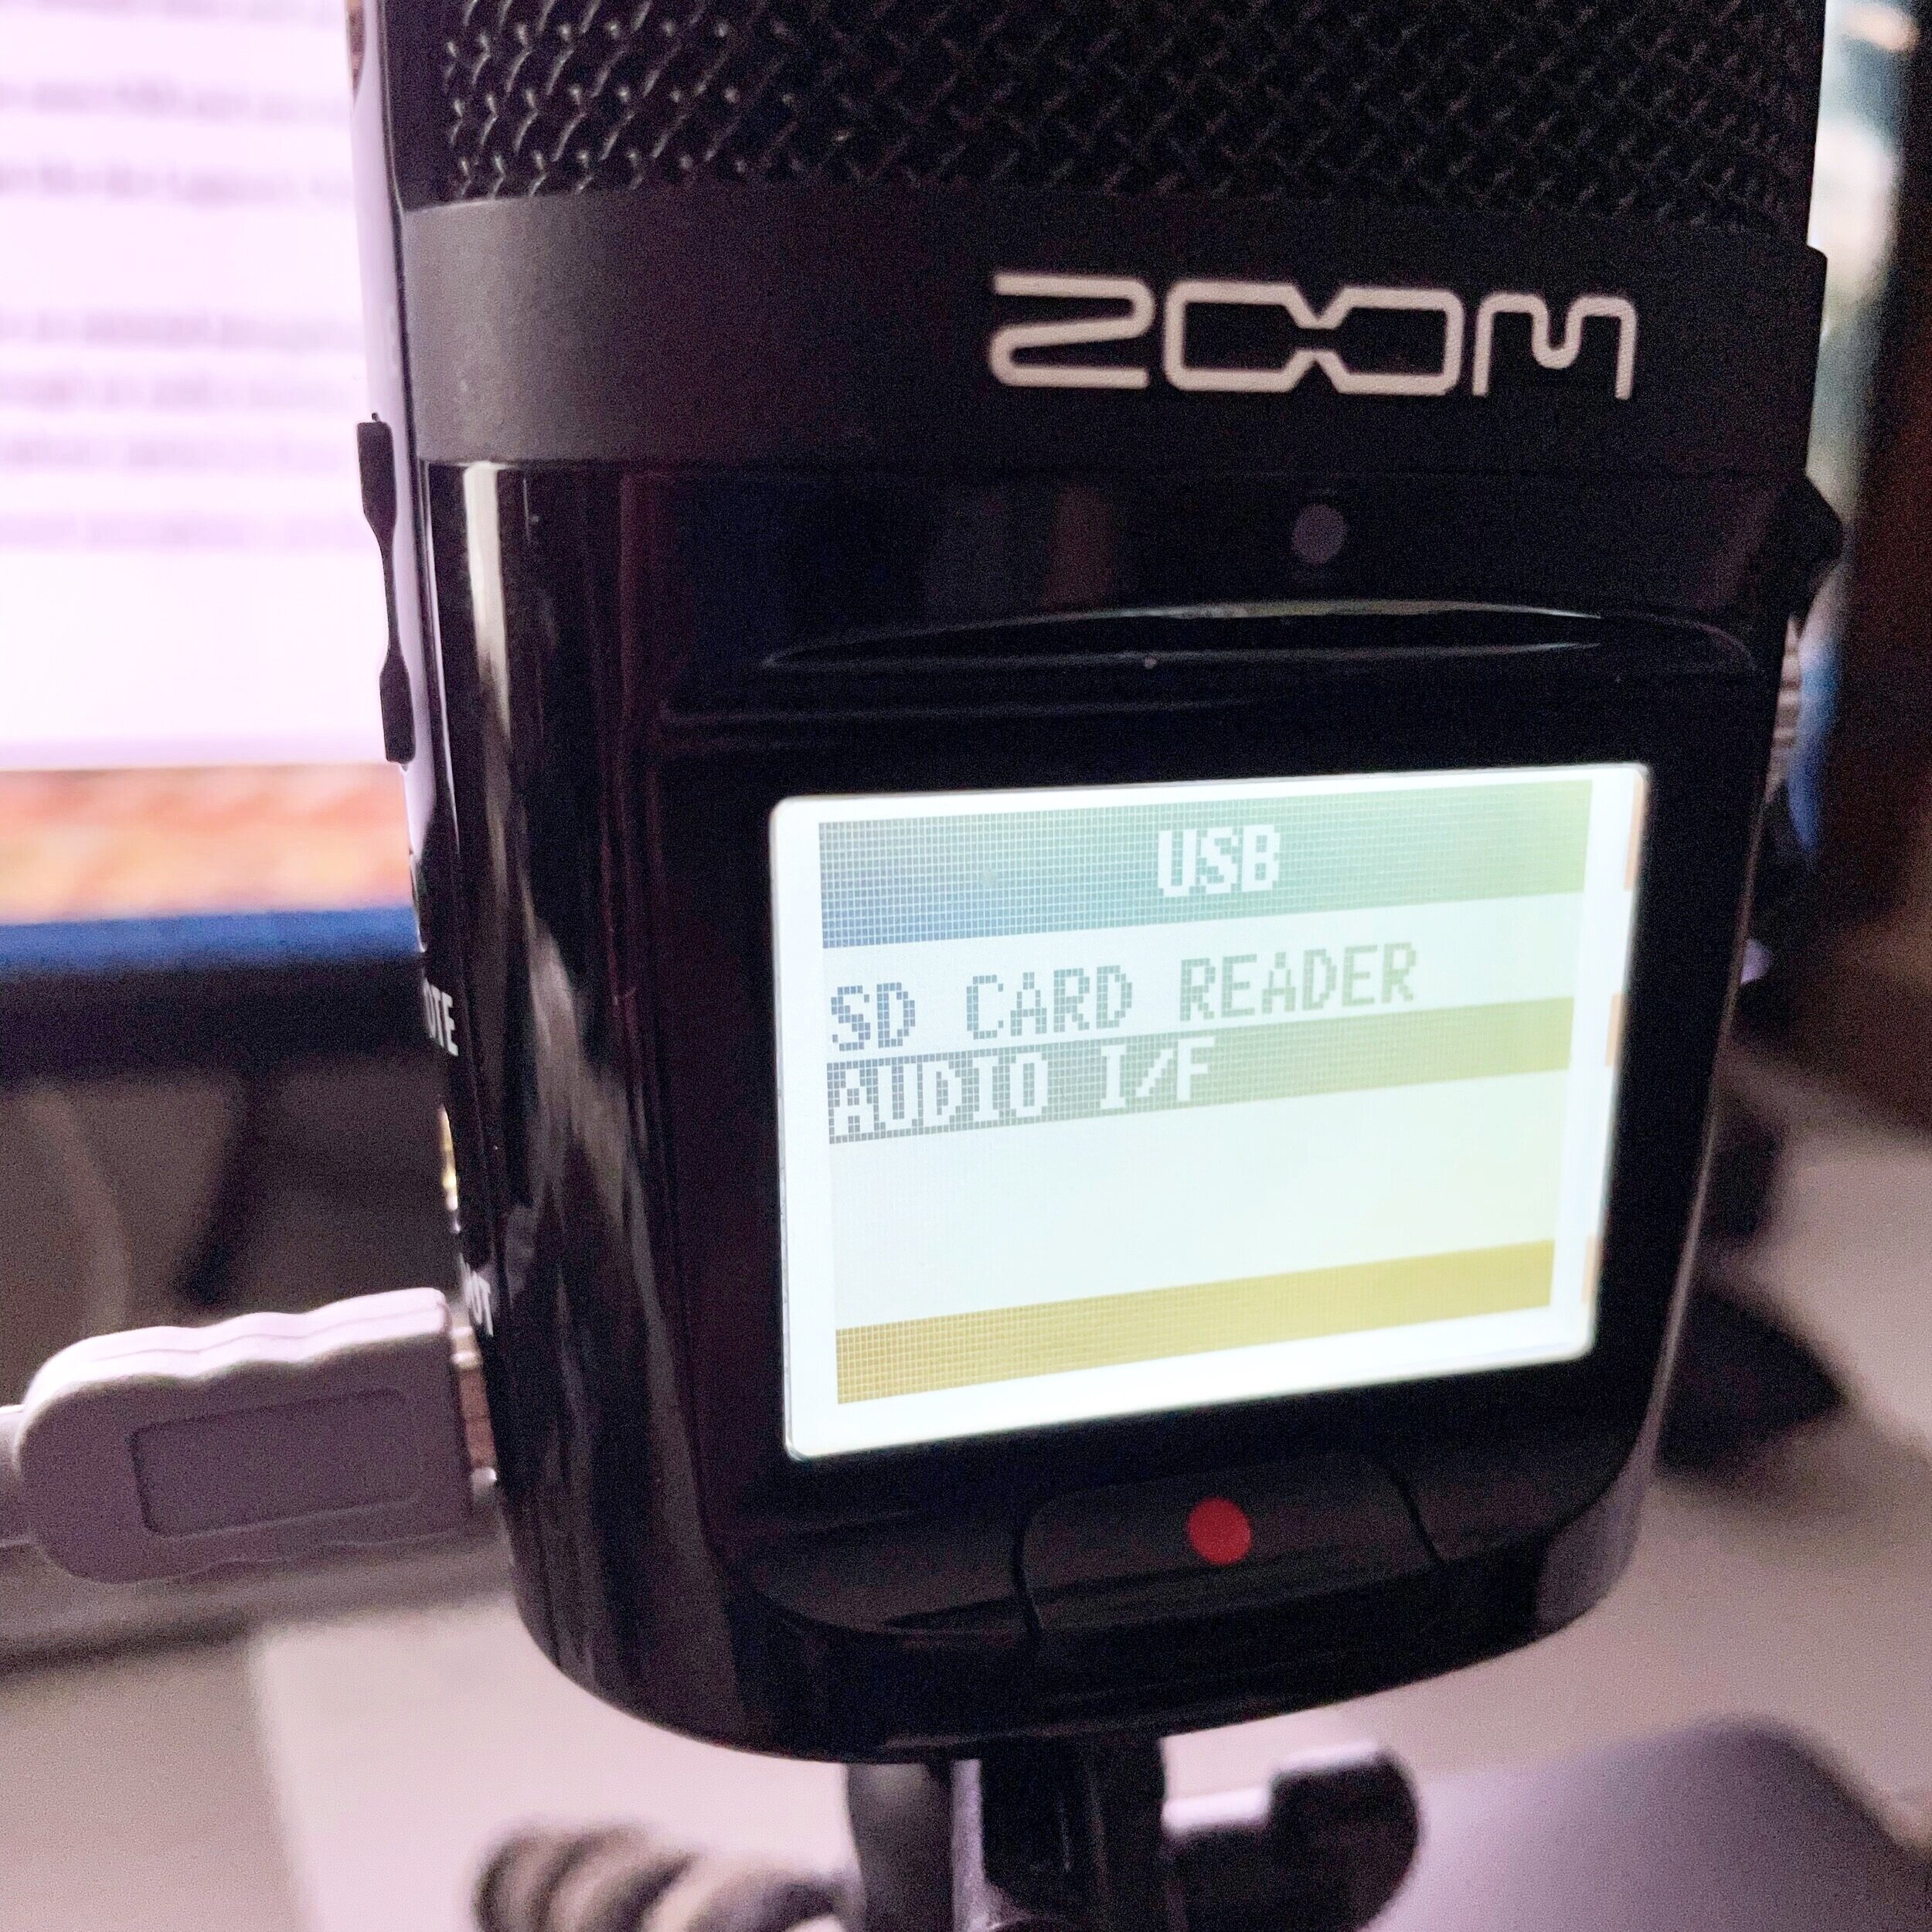
2. Power on the H2n, which will greet you with a screen allowing you to choose SD Card Reader or Audio I/F. Using the play button, select Audio I/F (i.e., slide the play button down to highlight Audio I/F, then press the button in the middle to select).
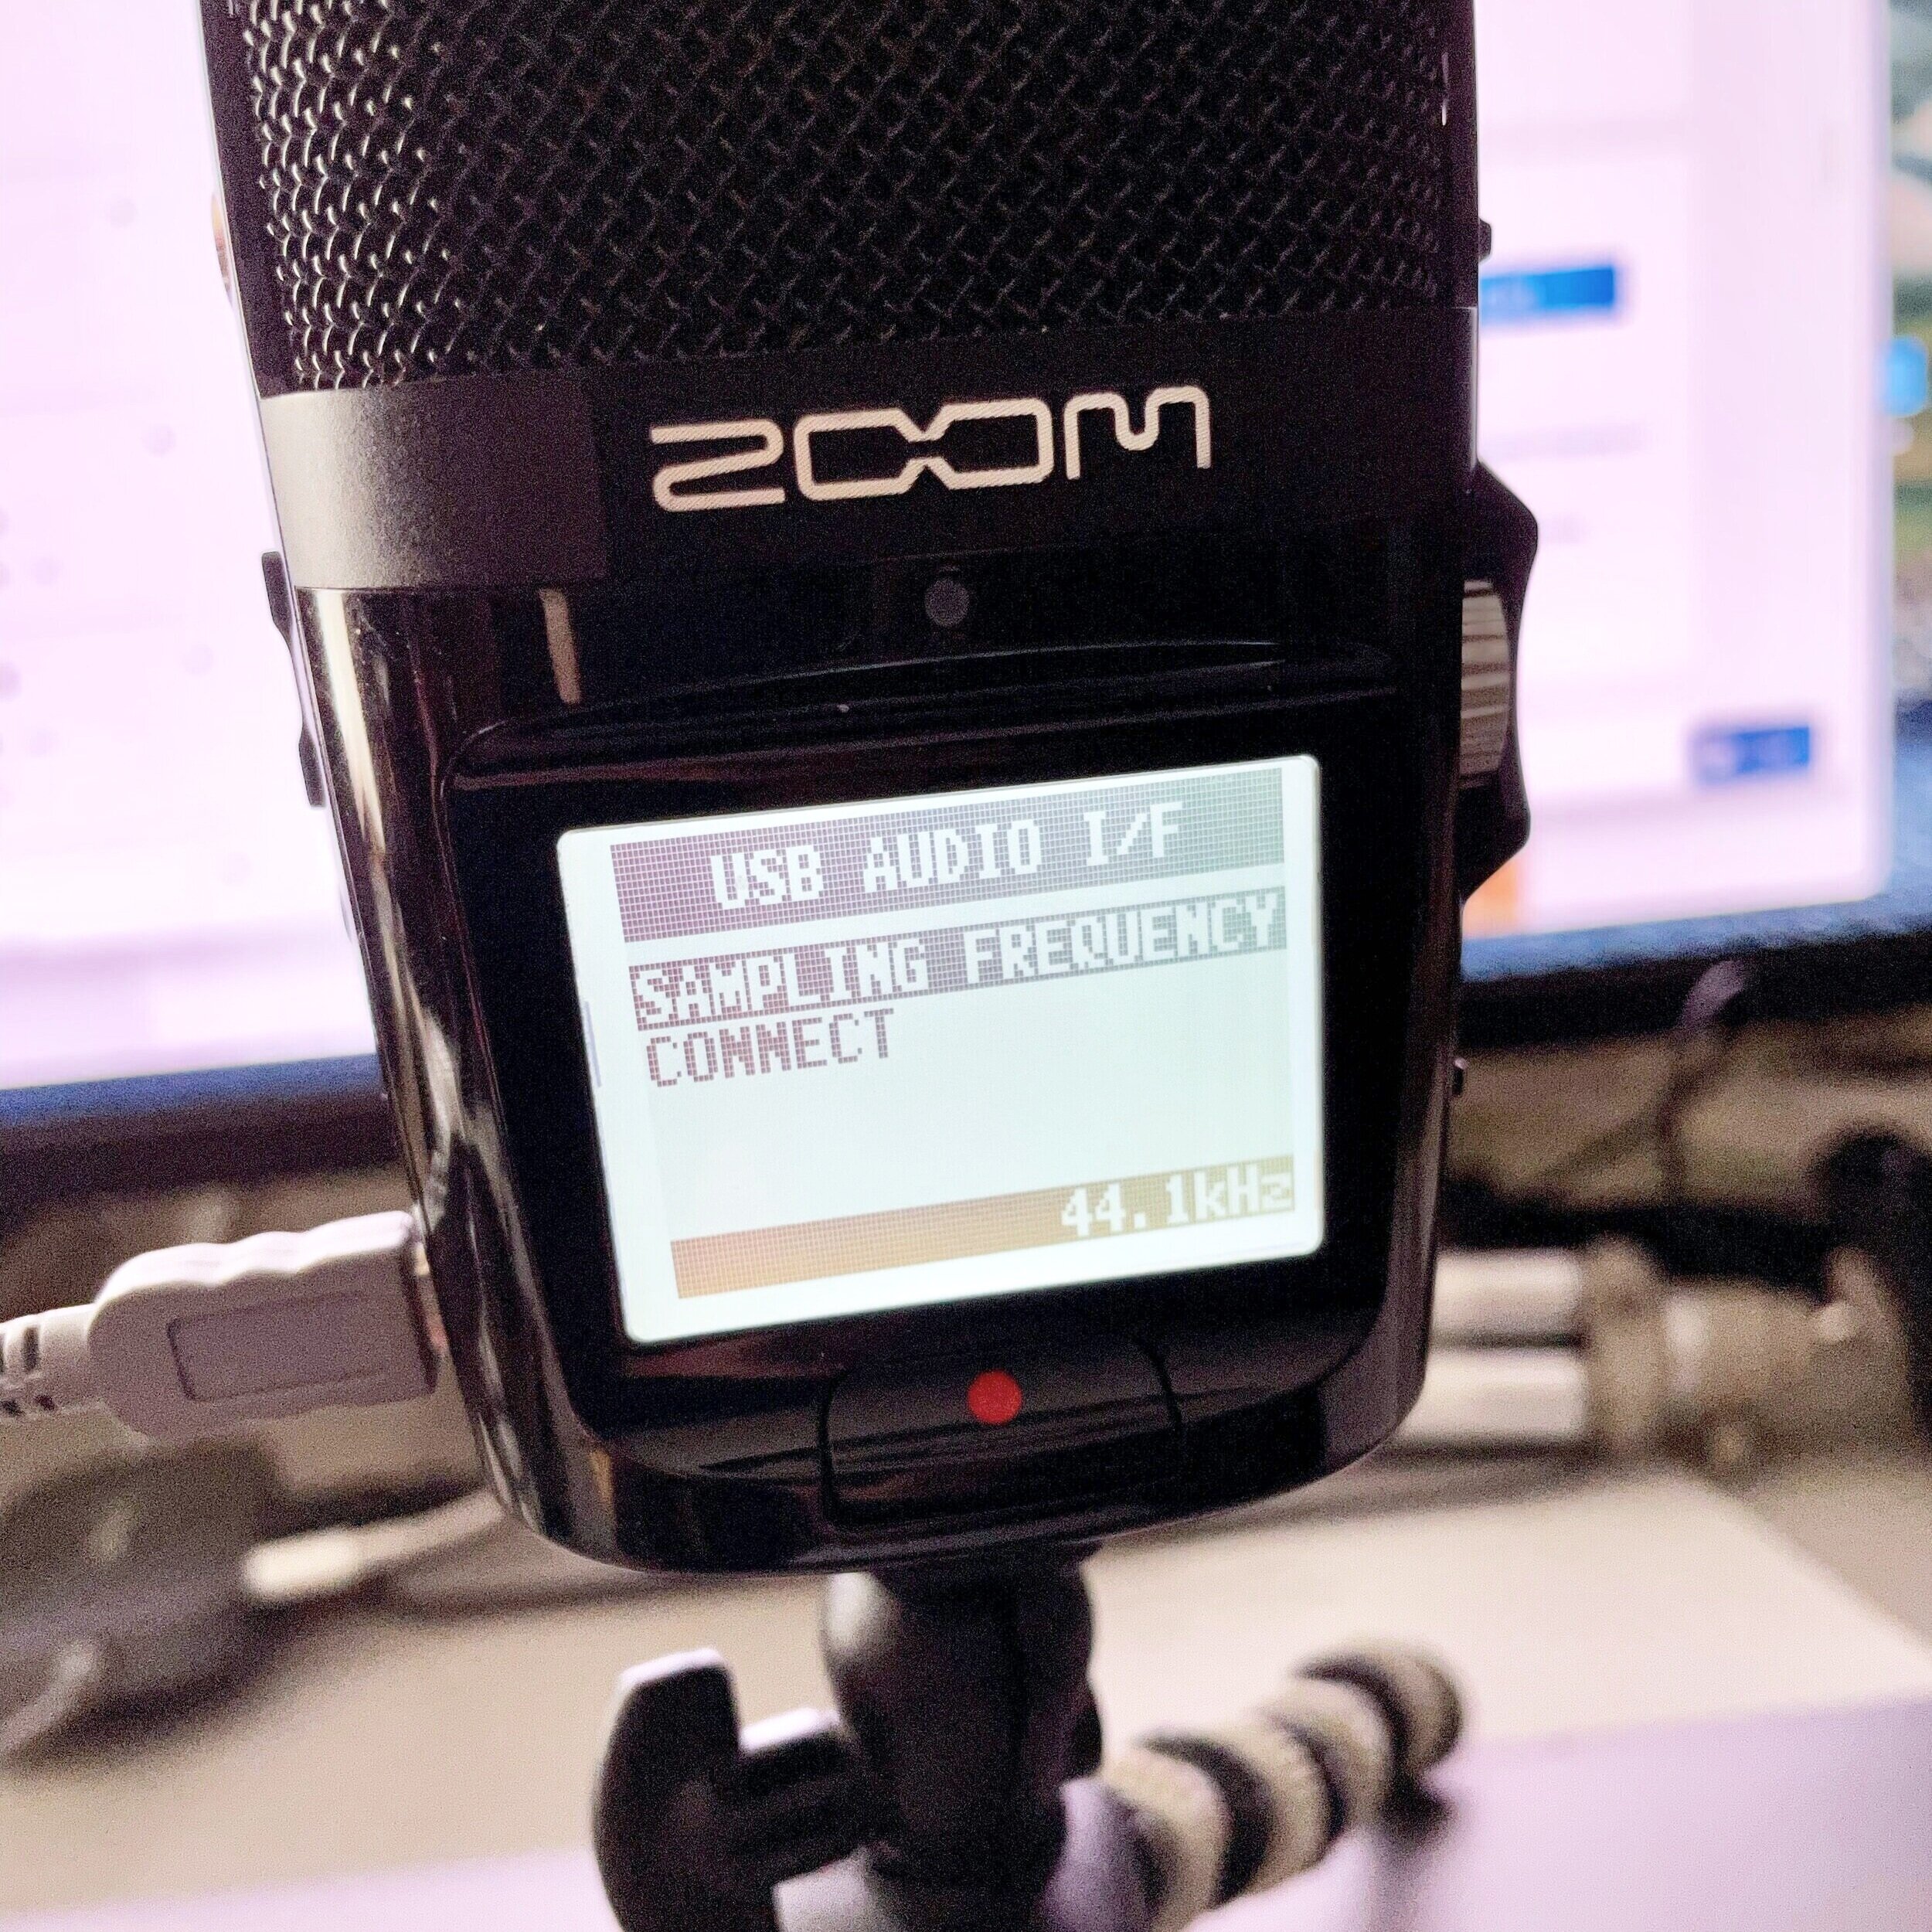
3. Check your sampling frequency. Usually you’ll want 44.1 kHZ, though for some video applications you may need 48 kHz. In my case, if I inadvertently have the H2n set at 48 kHz and use it in a Zoom meeting, for instance, it actually lowers the pitch of my voice. So if your voice sounds weird, check the sampling frequency!
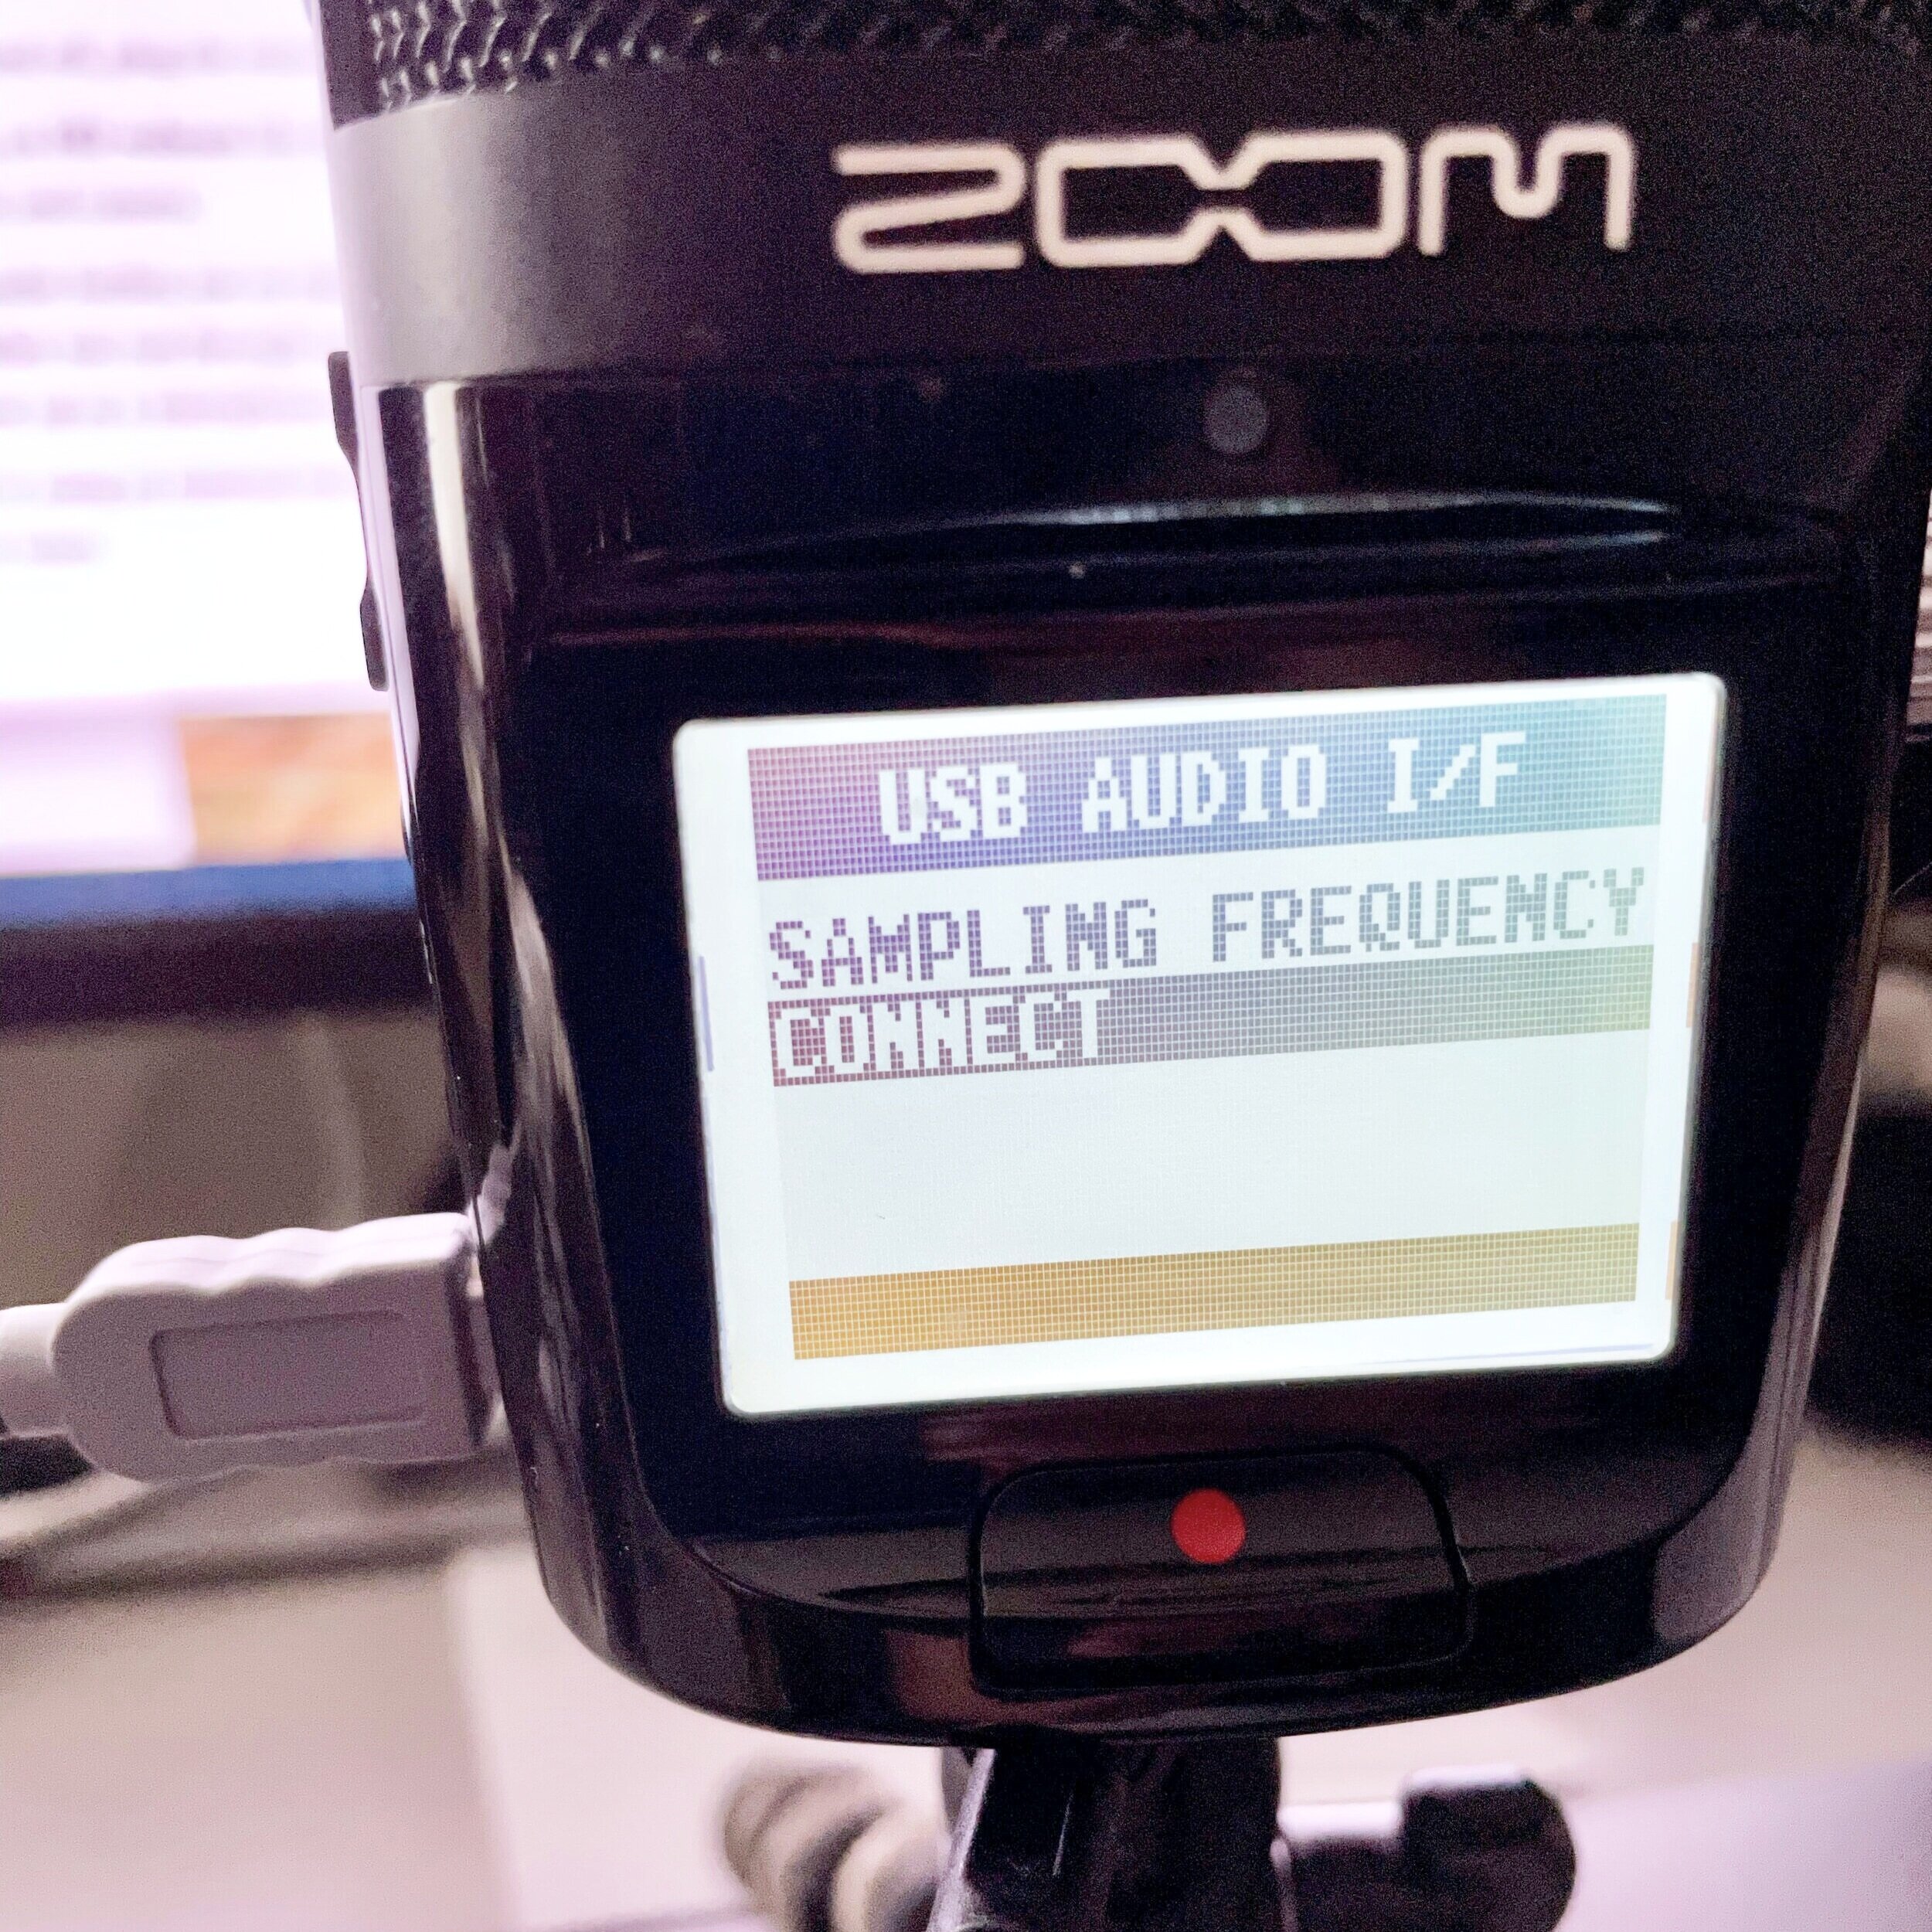
4. Back on the USB Audio I/F screen, choose Connect.

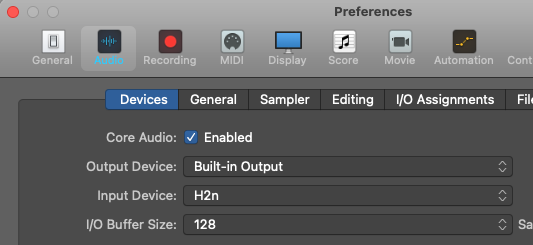
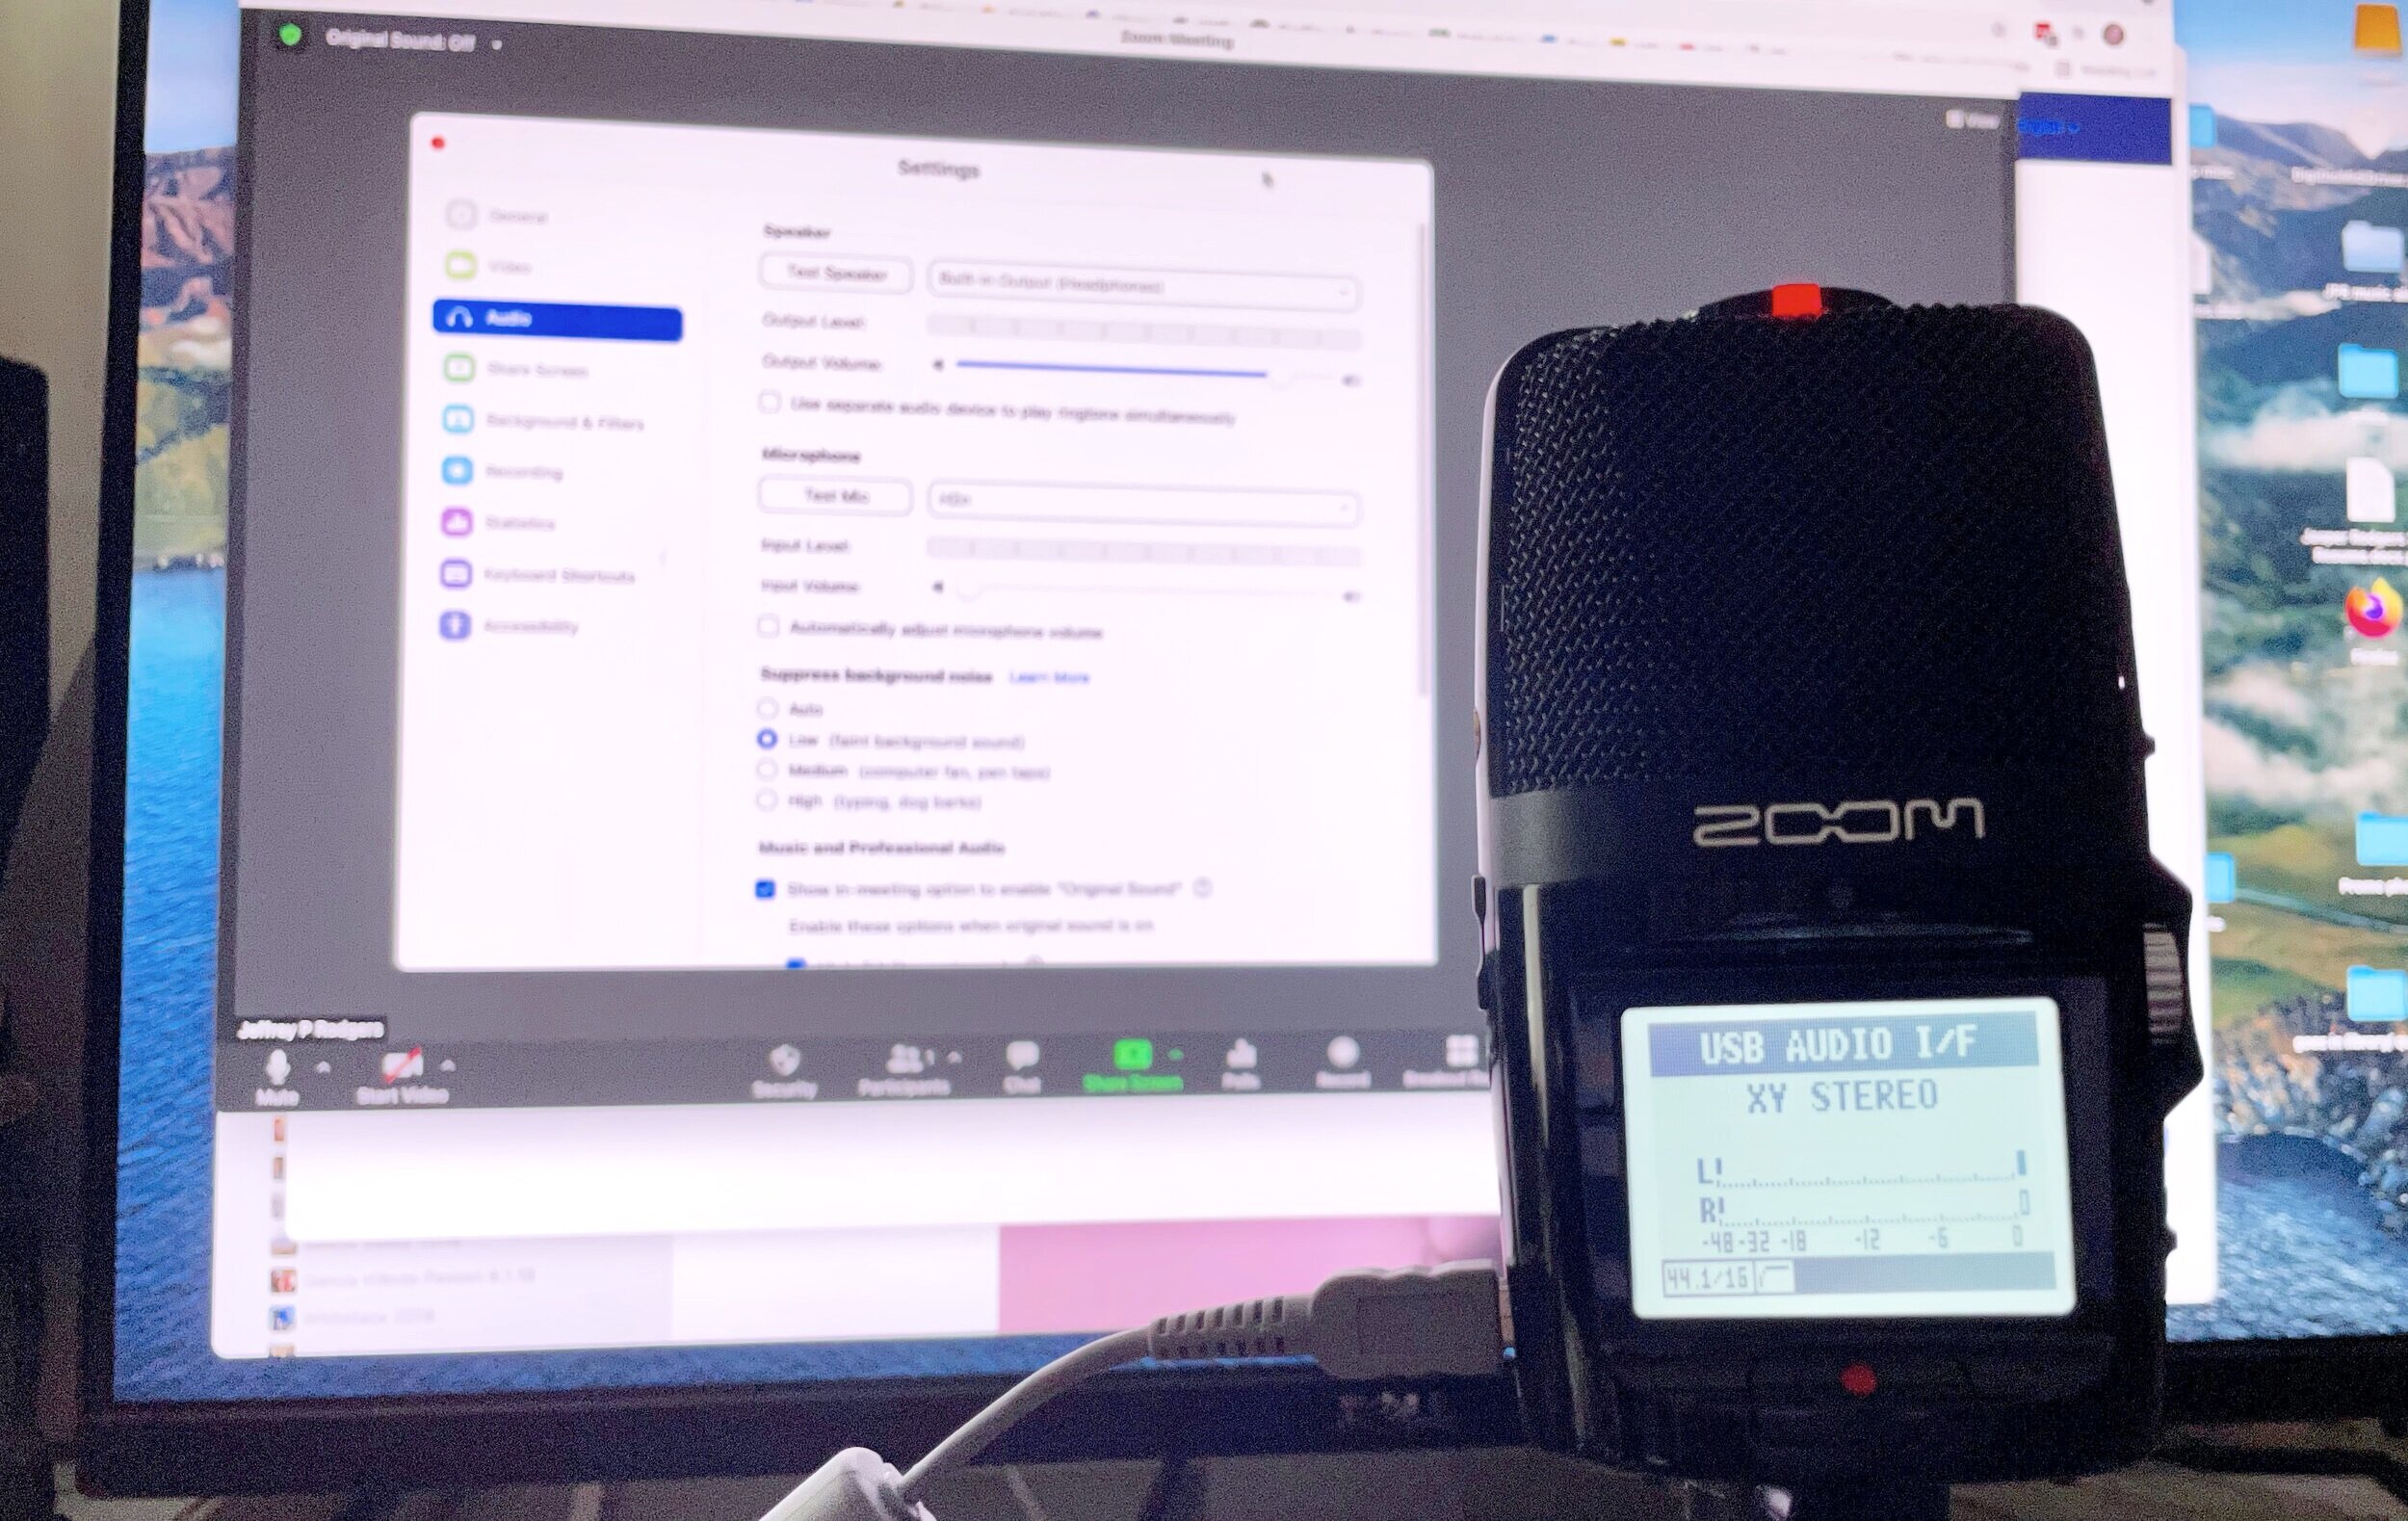
5. Once the H2n is connected, you can select it as audio source in any app on your computer. At left is the Zoom meetings audio settings menu showing H2n as the microphone. Above is the H2n selected as an input device for Logic Pro X.
Handy, right? It’s great to discover another use for an old faithful piece of audio gear.
For more tips specifically about getting set up to share music in Zoom online meetings, see this post.